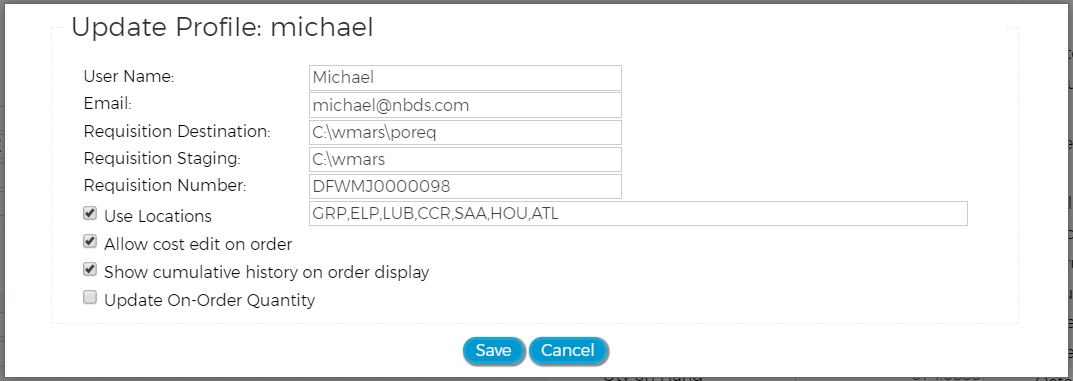
The Profile is where individual user settings are stored. The user's display name, email address and local options can be set from this page.
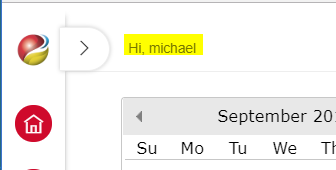
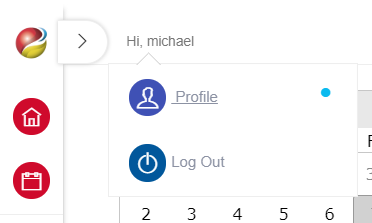
To access the Profile, click on your user name in the upper left corner of the page.
This will open the User menu which gives access to both the Profile and
Log Out options.
Once on the Profile page, user options can be set and saved.
User Name is the name you would like the system to call you (Hi, Michael)
Email is your email address. This is used to send you a link when you want to reset your password
Requisition Destination (ONLY CHANGE THIS IF YOU KNOW WHERE YOUR REQUISITION FILES GO - This is not on your local PC)
Requisition Number is the file name for your requisition files when they are placed on the server. If you are using the legacy file formats, the last seven characters of this name MUST be digits [0-9]. The field can be up to 20 characters maximum. This should always end in a numeric value because the numeric part of the name gets incremented every time you create a requisition.
Use Locations determines if the user results will be restricted to certain locations. Check the box if you want to use a subset of all the locations and then fill in a comma separated list of the location IDs.
Allow cost edit on order will make the Unit Cost field on the Item Details screen an editable field. Cost edits only apply to the current order. Permanent cost edits must be done in Item Maintenance.
Show cumulative history on order display when checked will change the three history fields on the order grid from H1, H2, H3 to L30, L60, L90. The H columns show individual sales history for the past three months. The L columns show cumulative history for 30, 60, and 90 days.
Update On-Order Quantity determines if the on-order quantities in the order record should be automatically updated when a requisition is created. Normally the on-order quantity gets updated from the host system after a PO has been placed (and confirmed) with the vendor.
When finished updating these values, click the Save button.
Click the Cancel button to close the screen and return to the previous screen.